| Home | |
| Adventures | |
| Specification | |
| Diary | |
| Photo Album | |
| Contact Us | |
| Feedback | |
| Hints & Tips | |
| Polish Words | |
| Web links | |
| Problem | |
| Polish Yachts | |
Ply Inserts in Forward and Side Decks. July 1992.
4/7/92
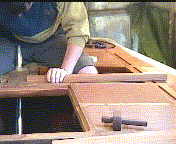
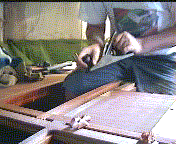
Made up a beam to fit behind the cockpit back deck edge. This would then allow us to router out and fit in ply inserts on deck. Routered out this beam ready for the strengthening deck ply inserts.
|
|
|
|
making up cockpit back deck beam |
planing cockpit back deck beam |
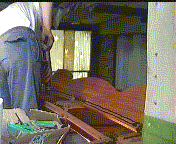
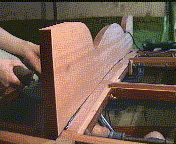
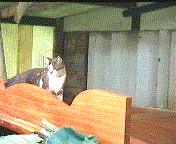
Clenched and Nailed the cockpit back into place against the existing deck beam, using sikaflex as well. Then with silicone bronze gripfast nails, nailed the extra beams into place to the cockpit back.
|
|
|
|
sikaflex put onto Cockpit back ready for fixing |
Cockpit back being clenched into place |
"It's looking good" |
5/7/92
Cut out and fitted the rest of the starboard side deck strengthening ply inserts.
11/7/92
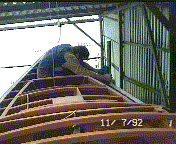
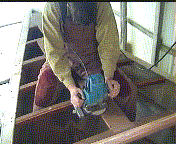
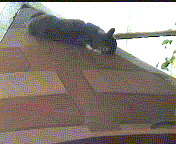
Routered out rebates in forward deck, for the deck strengthening inserts of 8mm ply. Cut out and fitted the 8mm ply inserts in the forward deck area.
|
|
|
|
routering rebates for deck ply inserts up forward |
routering rebates for deck ply inserts |
deck ply inserts in place. "Good enough to sleep on" |
12/7/92
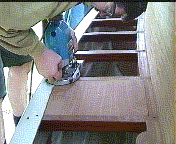
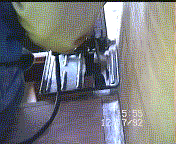
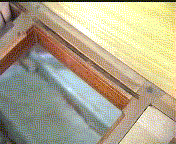
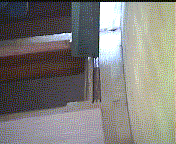
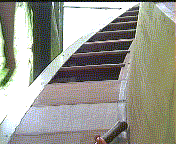
We decided to try and tackle making up the 8mm deck strengthening inserts for the side deck. Problem was we could not use the Router up against the cabin-side. No room. Decided to try and use a small circular saw to cut out most of the required groove, then finish the front (already varnished) surface by hand with a chisel. It was almost taking 3/4 hour from start to finish for 1 ply insert i.e. from routering the groove to fitting the plywood. It's going to be a long job - but it will be worth it. There had to be a better solution to this. Lance suggested looking to see if there was a router with a flat edge on its base.
|
|
|
|
routering rebates for deck ply inserts portside |
used circular saw against cabin side. The Router base would not allow the cutter to get close enough |
with the circular saw, only did so far, as varnished surfaces here. Completed the rest by hand. |
|
|

|
|
used chisel to complete the rebate along cabin side |
some portside deck ply inserts in place |
view of ply inserts in the forepeak area from inside. Note the alternate grains. |
The ply inserts all over the deck are being cut at alternate grains i.e. port to starboard, then forward to aft. The effect from inside the cabins is proving very effective and creative as shown in the photo of inside the forepeak area. This will look even better when varnished.
13/7/92
We searched all over for some clear (transparent) Sikaflex, for fixing down all the deck strengthening inserts. It proved difficult. There is apparently only black, white and grey. Eventually found some brown!. We are going to have a go with it, and try it. Whilst traveling around today we looked up a few Marine Ply Stockists. Not over impressed with the stock, not a great deal of choice, and we could not see the recognized WBP Marine Ply 1088 stamp. Six hours we've been out shopping, and just managed to grab some pie & chips in between.
14/7/92
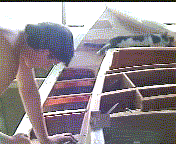
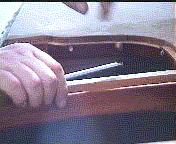
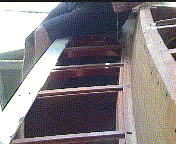
Finished routering the portside deck beams for the plywood strengthening inserts. Finished 3 beams by hand, and cut and fitted the 8mm ply inserts. Managed to cut the grass mid afternoon i.e. around the workshops.
 |
 |
 |
|
Finishing the Portside deck beams in preparation for ply inserts. |
Had to finish some beams by hand chiselling. |
All ready for the ply inserts now. |
15/7/92
Ventured out to find Silverman Plywood Importers to find some sheets of marine ply. Large selection of Aqua, Anchor and Far Eastern ply from 4mm 6mm 8mm 12mm 15mm and 18mm. Thames Marine Ply is no longer made, and the Kite symbol can only be stamped on British made timber - even though imported timber may be from the same area/tree. Far Eastern Ply is Shorea SPP (Philippine Mahogany) i.e. of the Luan family. Anchor ply is nearest to what Thames ply was.
The sheets we had been using were Thames Marine ply 1088 WBP. Batch numbers 2236 (12mm), 2583 (12mm) and 2370 (8mm). We bought 6 sheets of 9 mm Far Eastern Plywood, and brought them back with us in the van. Exhausted we were too. We had been out for 4 hours. A few cups of tea was the answer, then decided to scythe most of the overgrown foliage down the lane.16/7/92
Further work using the circular saw and chisel to finish by hand the portside deck beams ready for the last five ply inserts.
Bought more petrol and completed cutting the grass. Managed carefully to take the tractor down the lane, to cut the grass in the centre section. Cropped off the overhanging tree branches, which caught the van each time driving up the lane.
17/7/92
Fitted a new battery on the tractor, which the owner had bought. Then ran the tractor around half of the field - over the top of a wasps nest. Oh boy, did they buzz ? Early evening we started a bonfire to burn the grass cuttings and some rotten timber, and also to smoke out the wasp nest. It burnt all night, and we continued it burning next day.
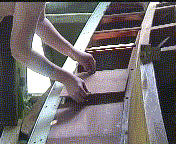
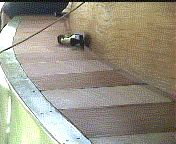
Having completed routering out the last deck beam in preparation for the portside deck strengthening inserts, the 8mm ply inserts were cut and fitted. All that is left now is the starboard side.
 |
 |
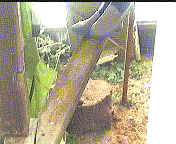 |
| Fitting in place the portside deck ply inserts | portside deck ply inserts completed - ready for fixing in place | plank staging erected around the forward part of the boat. |
Erected some plank staging around the forward part of the boat. Still needs some along the starboard. We are more than grateful for the timber the land owner had left for us to utilize.
18/7/92
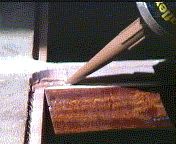
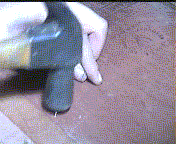
With Sikaflex 221 (Brown) - Fixed in place, with 1" x 14 gripfast the ply deck strengthening inserts in the inner cockpit deck area plus the after deck area. Then finished fixing in place the forward deck inserts.
 |
 |
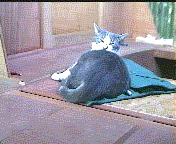 |
| Used brown Sikaflex 221 to fix in place the deck ply inserts... | then fixed the ply inserts in with silicon bronze grip-fast nails. | "I'm comfortable - just leave me alone" |
19/7/92
Tidied up the boat and workshop, then packed for Home after a good week on site.
|
|
|
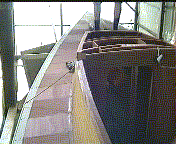
| "It is looking good. Easier on my little feet now" | Only the Starboard Deck ply inserts to do now. |
- - - - - - This is the end of Diary Section 5 - - - - - -
![]()

