| Home | |
| Adventures | |
| Specification | |
| Diary | |
| Photo Album | |
| Contact Us | |
| Feedback | |
| Hints & Tips | |
| Polish Words | |
| Web links | |
| Problem | |
| Polish Yachts | |
Laminating BulkHeads, Bought Engine, Starting on Companionway. March/April 1992.
7/3/92
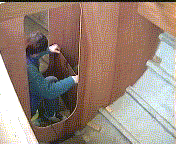
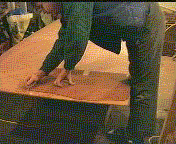
Made hardboard patterns for heads doorway bulkhead. This was done in two
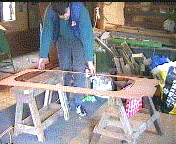
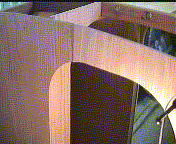
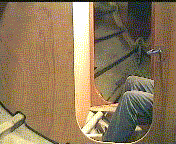
sections, top and bottom. Then cut it out of marine 8-mm ply, and fitted it.
Marked, and cut out the doorway of the heads.
Cut groove in heads doorway bulkhead for brass strip to be fitted overhead, from
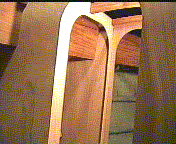
port to starboard, then screwed the bulkhead up to the coachroof beam. Made pattern
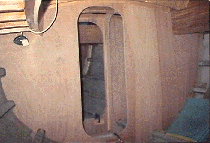
for, again in two pieces, and cut out the forward cupboard bulkhead. Marked out
cupboard doorway, and cut it out.
 |
 |
 |
|
Making Pattern for Heads Bulk Head |
Heads Bulk Head Cut Out |
Heads Bulk Head in place |
 |
 |
 |
|
Marking up Cupboard Bulk Head |
Marking up for Door on Cupboard Bulk Head |
Cupboard Bulk Head in place |
 |
||
|
View of Bulk Heads in Main Saloon |
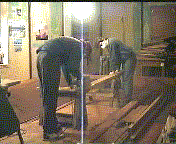
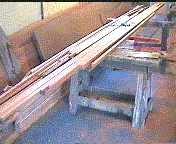
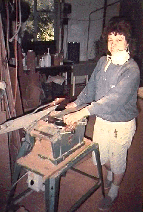
Sorted out, and cut up and planed a further quantity of Mahogany i.e. for Cockpit sides, Covering Boards and a quantity of planking for lining out the hull. Tried to cut out as many of the larger pieces and longer lengths of Mahogany that would be needed, from the lumber stock we had. Bags of sawdust made at the same time.
 |
 |
 |
|
Cutting into some of the Lumber |
Finished PSE Mahogany |
cleaning the planer/thicknesser |
6/3/92
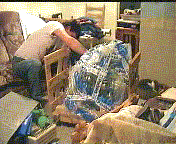
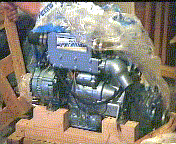
Picked up a new Perama M20 engine from a Perkins Agent at Norwich, and brought it back home. Unpacked in the living room. Here it could be studied and worked on in comfort, and kept out of a dusty environment until ready to fit it into the Hull.
 |
|
|
|
The Engine in Wraps |
The Engine |
15/3/92
Cut and planed more Mahogany planks, plus a slab of Iroko was cut into planks. Should we do an Iroko deck or Teak was the question ?. First attempt to cut the grass in the field. Lance used the landowners tractor, and cut the whole field. Useful break from all the sawdust, and gave time to ponder over jobs. Not much else done yesterday. It is very cold, and there are many aspects to ponder over before any more work can start. Have we enough Timber? Which pieces can we utilize best? How thick can we do the deck?
22/3/92
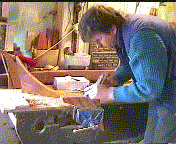
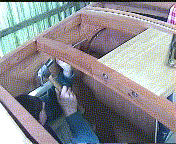
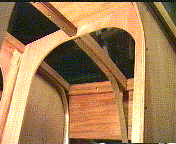
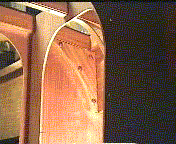
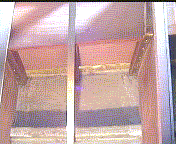
Made up the knees for the forward side of the main bulkhead. Clenched up the two forward main bulkhead knees. Clamped in place, after bending to shape, the brass strip and fixed it in place. The brass strips reach underneath the side deck beams, for strength. Clamped, shaped and fixed the second brass strip, but only at the coachroof beams. The knees are still to be made up. Clenched in the knees on the after side of the forward bulkhead. We decided it would be worth our while buying a third brass strip to fit around these knees. We'd only regret it if we did not do it.
 |
 |
 |
|
Making up Knees |
Clenching in the Knees |
Brass strips being fitted in place |
 |
 |
 |
|
one of the Clenched up Knees |
This photo (taken July 1992 looking into the forward portside cupboard) shows 2 of the 3 brass strips fitted to deck beams |
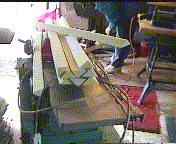
Foam Strips cut up on the circular saw, ready for use in laminating in the Bulk Heads |
25/3/93-26/3/92
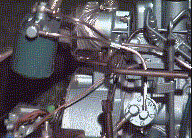
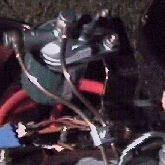
Lance attended an Engine Maintenance Course ran by Perkins in Peterborough. Thought was being given to the accessibility of the engine components, once it would be fitted in the Hull, and it was decided to move the fuel filter on the engine. A new bracket was made up, and after extensive searching some new pipes and banjos were obtained, and three pipes made up to fit the fuel filter in its new position. The pipes were silver soldered together. Ease of access was the prime purpose of moving this filter. The bracket was also made so that the Fuel filter was fitted at 10degrees. This meant once the engine installed, then the fuel filter would be level, to avoid unnecessary spillages upon removal. The new Bracket made for the Fuel Filter doubled up, with a new rod being welded to it, to support the Morse Cables . The original bracket we had bought to support the Morse Cables was too short anyway, and positioned where it was supposed to fit, somewhat obstructed access to the oil filter.
 |
 |
|
|
Fuel Filter on its new Bracket, with new pipes and Banjos |
close up view of fuel filter and the new bracket |
29/3/92
After searching around several local places, a bronze Inboard Bearing
and Flange Bearing and Gland bearing were uncovered and purchased. The problem
was then getting a stern-tube 25mm at one end, and 1"1/4 at the other, and
with two different threads. After finding a length of suitable pipe for the
stern-tube, it had to be re-cut at one end, following lousy work by an
incompetent engineer. The pipe consequently, ended up half its original length,
but fortunately the overall length is adequate for our needs.
4/4/92
Toured the area searching for a Morse single lever control and cables. Found
a place, where much to our relief they had quite an extensive, varied stock.
Called at a local Yacht Delivery firm to look up the 1" marine ply they had
for sale. We decided to buy it. Cut the grass in the field. and today the
Fan belt on tractor disintegrated. Found a firm close to home which stocked
replacement belts.
11/4/92
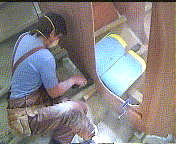
Made up two smaller knees for fixing in the heads/forward cupboard area. These were glued together to make one knee, and left to set. Ground down the bilge paint in the areas where the bulkheads are to be laminated to the hull. Laminated in the main starboard and port side bulkheads with two layers of fiberglass matting. Continued cutting the grass as a break from fiberglass/acetone fumes.
 |
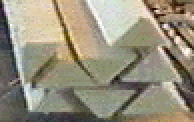 |
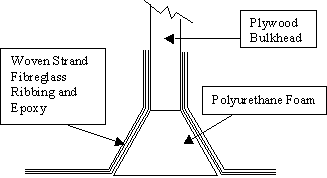
Polyurethane Foam Strips cut to shape on a circular saw. Ready for sandwiching between Bulk Heads and Hull. |
|
Grinding through the grey bilge paint, down to the Fibreglass ready for laminating in the Bulk Heads
|
The top edge is the thickness of the bulk head. The sides have an approximate angle of 60 degrees. The thickness is approximately 30mm . |
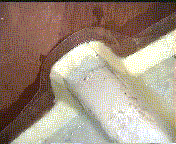 |
Bulk Head laminated to the Hull
|
18/4/92
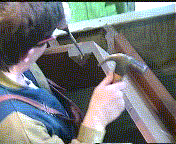
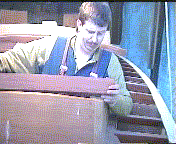
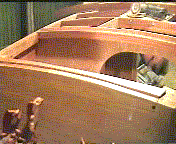
Planed the two smaller knees, and filed to shape. These are for the heads/forward cupboard area. Think they were fixed in at this point. Shaped and fitted a large beam to the after side of the forward cabin, forward fascia board. This is in preparation for making, and fitting the forward hatch. Planed down the beam in forward cabin to the camber, and glued and fixed it in place.
 |
 |
|
|
Preparing for additional Beam |
Sizing up the Beam |
Now to plane the Beam |
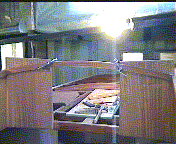
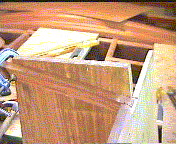
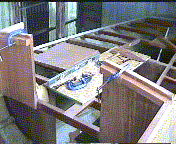
Fitted in the first main cabin coachroof beam, i.e. the hatch beam, but not fixed just yet. Shaped the cabin companionway sides in line with the beam. Cut the beam to length.
 |
 |
|
|
fitting of the 1st Main Cabin Beam |
Shaping the Companionway Sides to the Beam |
Cutting Beam to length |
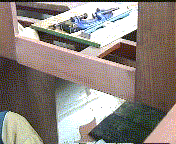
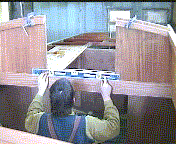
Cut and planed a piece for the hatch doorframe area and shaped it i.e. the base stop section. This was made out of Mahogany. Fitted it to the existing cabin aft sides with a rebated tenon. Cut and planed and fitted an inner fascia board - port to starboard across the base of the aft cabin sides. The inner hatch doorframe will sit on top of this fascia board. Not fixed in at this point.
 |
 |
 |
|
foundation of the Drop Boards Frame |
loose tongue and groove butt Joint |
Preparing Inner Fascia Board |
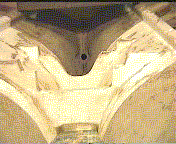
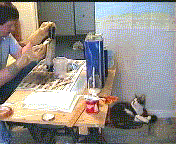
Chopped at the existing engine beds, to establish what they are made of, as it is likely they will need altering anyway. The engine beds had been made up originally for a Lister Petter Mini-Twin engine. We had bought a Perkins Perama M20 to fit in. Cut a hole in the stem, and placed the stern-tube fittings in position to assess the situation. Fiberglass 1” thick at this point. At home Lance was making up a fiberglass tube to laminate into the stern area for fitting in the stern gear. He was utilizing a plastic pipe covered in tape to prevent the fiberglass adhering, then built up layers of fiberglass and matting. Once complete cut to length.
 |
|
"I don't like that smell at all !"
|
|
Engine Beds area. Stem in the background. |
Making up Fibreglass Tube, out of 2part polyester resin |
26/4/92
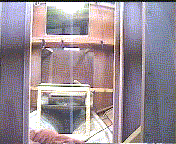
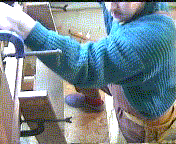
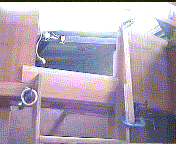
Spent all yesterday drinking pints of good ole Tea, and racking the old brains on how to do the ladder/steps into the boat. Made up an engine box out of softwood and chipboard. Then made up a one step ladder out of 1" ply, the idea being to have grab rails at the doorway, with the timber on which the grab rail would be fitted tapered to meet the steps. It was decided having made up a plywood set of such steps that too much space was taken up, and it made access to the galley awkward. Going to need to think of something else.
 |
 |
|
|
Mock up Engine Cupboard |
1st attempt at Steps |
more of 1st attempt at Steps |
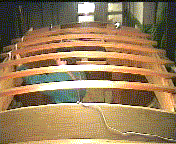
Got out the Main Cabin Beams which had already been made up and assessed their likely positions. Taped them in place temporarily. Needed to get a feel for where to position the beams for, and how large to make the Main Cabin Hatch Area.
|
||
|
Original Beams placed into Position |
- - - - - - This is the end of Diary Section 3 - - - - - -
![]()


